How to use Photoshop and come out looking like a Pro using this basic Photoshop tutorial.
If you are reading this, then you are like me. You want a basic Photoshop tutorial.
A few years ago, I got new passport pictures. They were beautiful. I was surprised that I was so photogenic. 🙂 The guy behind the counter said the pictures were photoshopped. What did that mean?
I’m a middle-aged woman who just recently started using a digital camera. He explained that it was software that could change images dramatically to whatever the customer wanted. Well, if he could make me look good, then I could make me look even better. Right!
So I bought a copy of that fabulous software.
No one told me how difficult it was to use.
I needed an easy Photoshop tutorial but couldn’t find one. I played with it for a few weeks trying to learn the basics and then, bye, bye. Never to be used again.
Until last year, my son gave me his MacBook Air, which had Adobe Photoshop CS6 and a bunch of other Adobe software on it.
Jackpot! Now I can use this program on a MacBook and it should be easier, since the Mac is supposed to be easier to use than Windows based computers.
It is even more complicated on a Mac. Things have been added, and the Mac is reverse engineered. It’s like driving in the UK versus driving in the US.
Everything is on the other side.
Well, after many attempts to learn and use the basic functions, which I really don’t think exists – it is an advanced beast, I recorded every step to make this pretty cool Photoshop tutorial.
If I can do it, then so can you!
| In this cover art design tutorial, you’ll learn how to create simple cover art design in photoshop. |
PHOTOSHOP TUTORIAL
How to change a color photo to a B/W line art cover design picture.
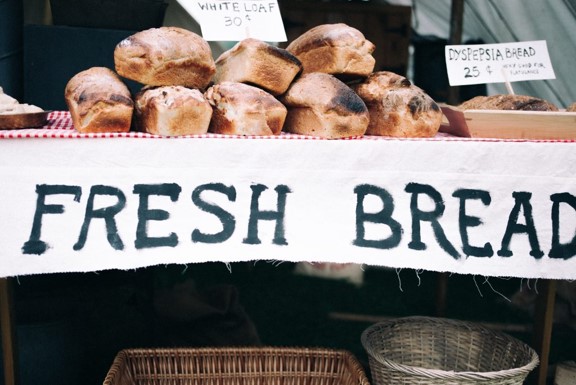
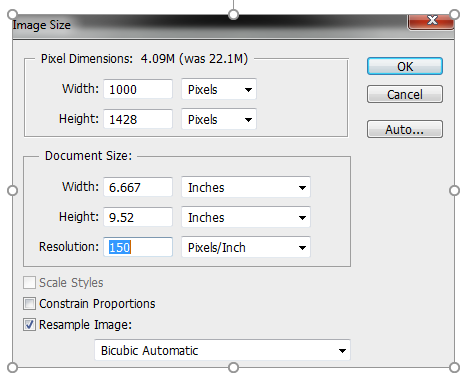
- Open a photo (almost all photos will be this size, if not, don’t worry)
- Because you want to work on the copy, first make a copy of the photo
- Ctrl + J for PC
- Command + J for Mac
- Click adjust layer icon on bottom of screen

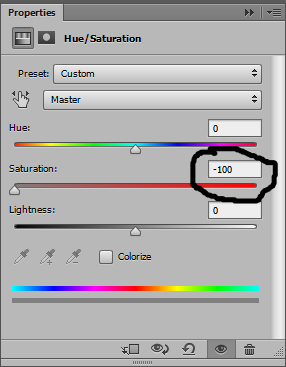
- Click Hue saturation
- Slide saturation level to -100
- Click thumbnail Layer 1
- Click Normal
- Change to Color Dodge (picture changes to b/w)
- Invert picture
- Ctrl + I for PC
- Command + I for Mac
Your image should look white (don’t worry)
- Go to Filter on the toolbar
- Click Blur
- Click Gaussian Blur
- Increase the radius to your liking (look at your picture while doing this)
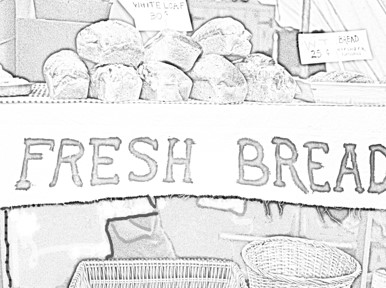
Your image should look like a pencil drawing and not a photo.
- Click adjustment layer icon at bottom of screen
- Click Levels
- Slide inputs (black, grey, & white tabs under white box) to the right to add density to picture
Since some areas may be too dense (dark), open the brush tool.
- Click brush tool
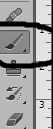
- Make brush size large (400 px is good)
- Hardness 0%
- Opacity 40%
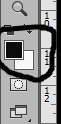
- Make sure foreground color is black and background color is white.
- Brush areas to lighten.
- Most of all, make a composite snapshot
- Ctrl + Shift + Alt + E for PC
- Command + Shift + Option + E for Mac
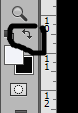
- Invert foreground and background colors by clicking on the double arrows or Press X on the keyboard.
- Also, make the brush size small to medium (50 px is good)
- Opacity at 100%
- Next, brush over areas you want to clean up on the picture.
- Finally, you have now created a line drawing from your photo.